
The brand is selecting between two rectangular tins for a gift set. Both have lift off lids. Outside dimensions are similar. One has a vertical side seam. The other has the body drawn in one piece. The art wraps around the front and sides and the buyer would like to use an existing mold if possible.
Start with two questions: Will the seam show in the areas that matter to the artwork? Will the packed product fit into the assembled tin? If the seam is on a panel the buyer likes and a stock mold passes the fit check, the seamed tin might be the better choice on that project. If you need the illustration to go all the way around the body without a break, choose a seamless option and sample how the print looks after forming.
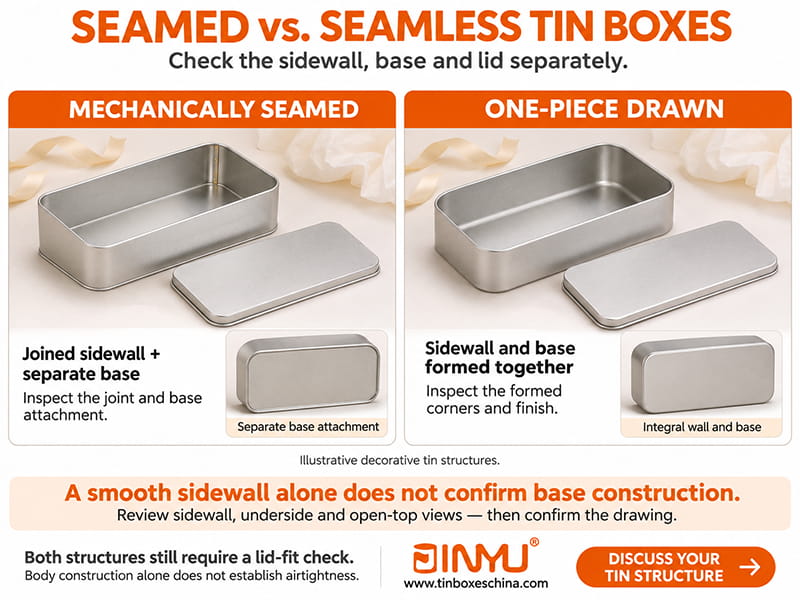
This guide covers decorative tinplate boxes for gifts, for non-food products and for products with their own inner packaging. It is a comparison of two body styles with a separate lid.
In a mechanically seamed tin the edges of the sheet making up the sidewall are folded and interlocked. Here the design is provided with separate basis. In a one-piece drawn tin the sidewall and base are formed from one sheet so there is no vertical side seam or separate base joint in the body. The lid still fits on a separate opening and some drawn designs have a separate rim too. ITRA Ltd's Guide to Tinplate covers mechanically joined decorative tins and drawn bodies that have a separate rim.
| Where to look | Body, mechanically seamed | One-piece figure (drawn) |
| Sidewall | Ask how the edges meet and whether you can see the joint from the front or sides. | There is no vertical joint in the wall. Inspect the shape and finish of the formed walls and corners. |
| Base | See how the separate base is attached, and look at the join on the sample. | Confirm the base and wall are formed together. A photo of the smooth side alone cannot verify the method of base construction. |
| Lid and opening | Ask how the lid fits and closes when the contents are inside. | Do the same checks. Changing the body construction does not tell us how the lid will behave. |
If the supplier calls a design “seamless” then ask for three views; sidewall, underside and open top. A photo might help you find the visible joints. A drawing or written spec can confirm how the parts are made. See guide to tinplate box and can types for difference between decorative boxes and welded or seamed industrial cans.
Start by marking which faces will be visible to customers on the shelf or when they open the gift set. Identify the elements of the artwork that must be continuous. A join that would be obvious across a word, border or face is often acceptable in a background texture.
You can do a front logo, a repeat on the sides and product information on the back in mechanically seamed tin. Ask the supplier to mark the actual joint position on the print template and demonstrate how it matches the lid artwork. If the joint crosses the text on the back, move the text, or ask if the chosen mold has another arrangement. Try out the change on an assembled sample.
There is no sidewall vertical break with a one-piece drawn body. Once formed, the print still has to follow the shape. If you have an illustration that wraps around the corners, check to see that line weights and letter shapes and borders still look as you intended. Toyo Seikan’s technical note on drawn cans explains that graphics printed on metal before drawing can be adjusted in the artwork to compensate for deformation. Request to view the art on the formed sample for a decorative tin, especially if a logo or fine type is near a curved corner or rim.
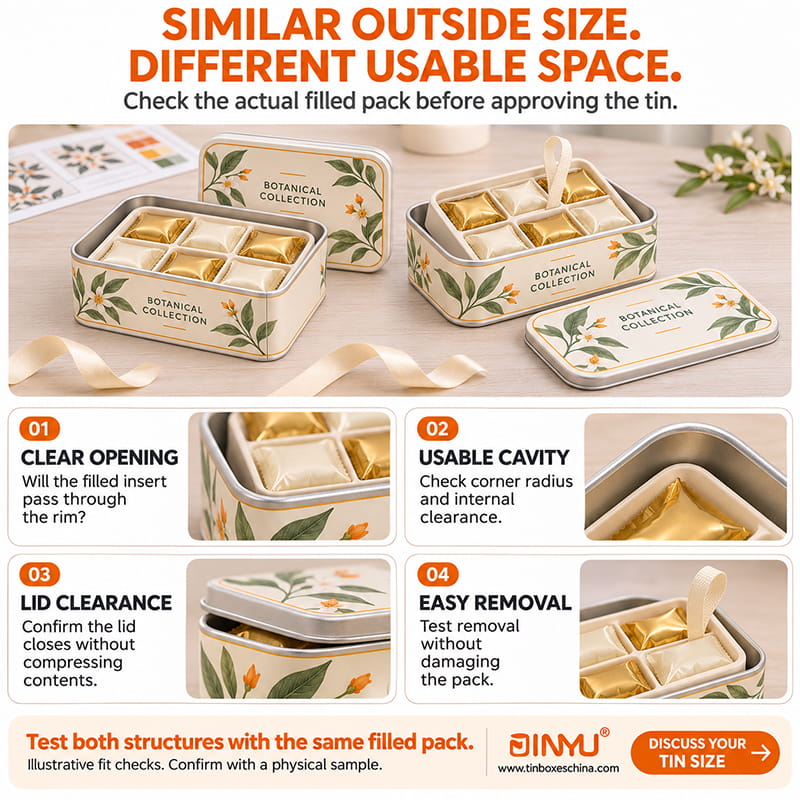
Pick a size that is about the size of the finished product, as it will actually go in the box. For packaged food please send the sealed and filled pouch not the dimensions of the flat bag. Send the items and the insert, or a drawing showing them together, for a gift set.
Request confirmation from vendor:
Please be sure the existing body and lid molds are still available as a compatible set. If the closest option is too shallow, or it doesn’t have the correct corner radius, or it doesn’t work with the lid you’re using, ask what part would need to change. The supplier’s drawing may limit the choices. A trial with the filled sample settles the fit question.
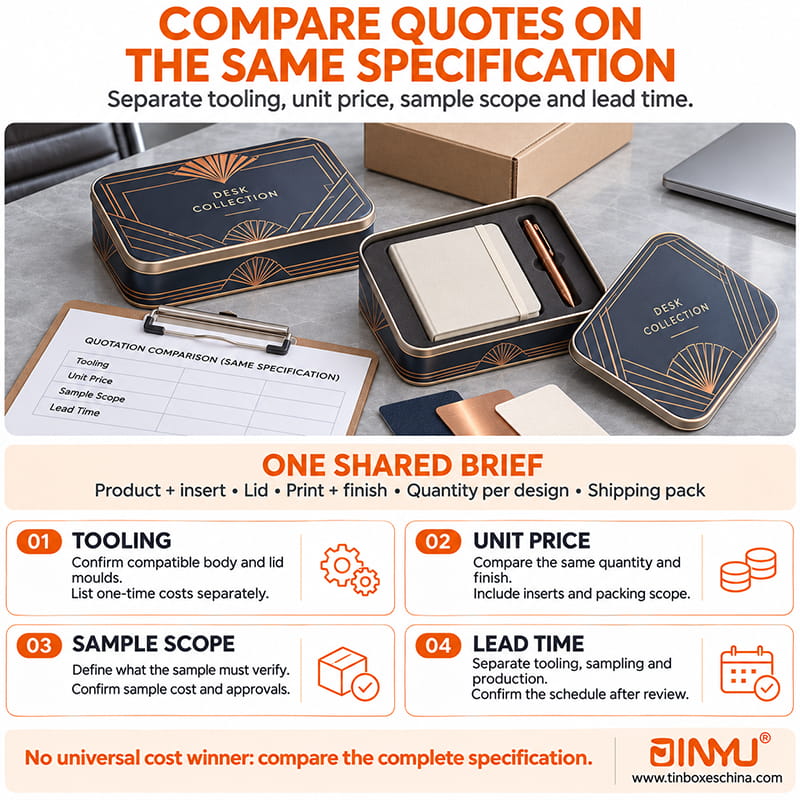
Send the same brief for both options - product and insert, lid type, print coverage, finish, quantities per design and shipping pack. If you are to use the same contents in both boxes, let the supplier suggest a different outside size. Let them write down the difference so the options can still be compared fairly.
| Quote item | What buyer should ask for |
| Tooling | What are the reusable tools, insert, base, lid or body? What needs a new tool or modification? Separate list for single-time charges. |
| Unit price | Please confirm both prices include the same print, finish, lid, insert and packing. Ask for the price for the same quantity per design. |
| Sample cost | Ask if the quote includes a plain fit sample or a formed print sample and what happens if another round is needed. |
| Lead time | Distinct tooling, sampling and production. Please specify what needs to be approved before each step and whether shipping is included. |
Separate tooling charge; unit price may be lower. Compare the total quoted cost for the first order and if a repeat order is likely, ask which charges would be recurring. The useful comparison of costs is between two workable specs, where tooling and sample scope are made clear.
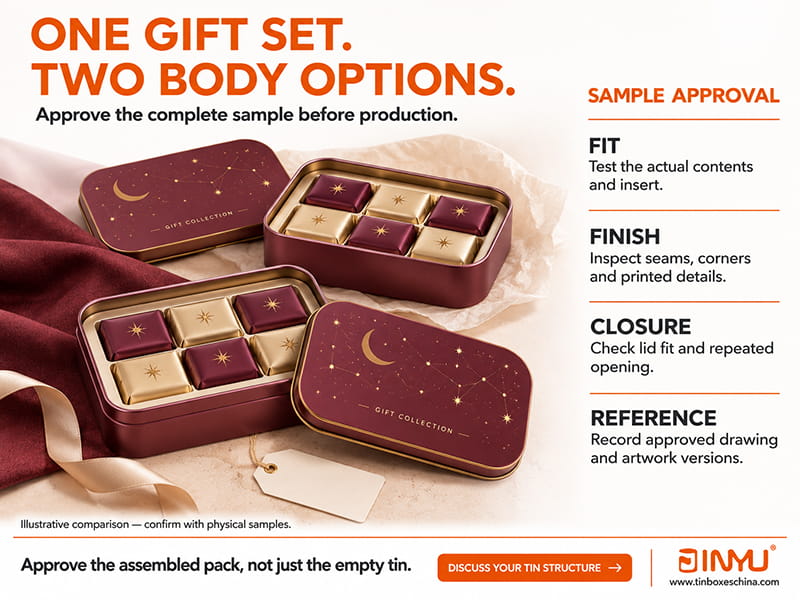
For illustration only, not factory test data.
A rectangular tin to fit a fitted tray of individually wrapped chocolates for a gift brand. Artwork includes a logo on the front, continuous illustration on both sides and product information panel on the back. BUYER WANTS 1 MECHANICALLY SEAMED TIN & 1 DRAWN TIN BOTH WITH LIFT OFF LIDS.
| Decision | Option A: Mechanically seamed | Option B: One-piece drawn |
| Artwork | Make sure the joint is within the back panel and not over any required text or illustrations. | Request a ready print sample and inspect the illustration around the corners. |
| Fit | Load actual tray and wrapped items. Check that the opening is clear and that you can pull out the tray. | Repeat with same tray and content. Check the fit in the corners and that the lid sits without pressure on the pack. |
| Tooling and cost | Confirm that the proposed box and lid will use existing tooling. Verify that the quote has the tray included. | Make sure both body and lid are available in the size you want. Remove any new tooling from the unit cost. |
If the tin is normally to face forward and the joint can be accommodated in some acceptable part of the back panel, Option A is a reasonable starting point when it passes the fit check. Option B is worth sampling if the tin is displayed from several sides and the illustration cannot tolerate an interruption. Only approve once the formed artwork and packed fit are to brief. Note any differences in lid, corner radius or dimensions so that you can identify which observations are specific to the samples.
A seamless body has no vertical joint on the side. It is not only the body that determines the air tightness. It relies on the whole closed pack. Specify inner packaging product protection for a decorative food tin that holds a sealed pouch.
Sometimes. Supplier to confirm position of joint in relation to front artwork, lid and direction of opening. Print template must be actual and check sample made before approving the change.
The price will vary depending on the available molds for the project, the forming and print requirements, accessories, and the order quantity. Compare unit and tooling prices separately for 2 designs that passed the same fit and artwork checks.
Maybe. But dimensions on the outside only tell you so much about the fit. Compare the unique opening, usable cavity, corner shape and space under the lid. Test both with the intended product and the insert.
Holen Sie sich die neuesten Informationen und Sonderangebote


 IPv6-Netzwerk unterstützt
 Deutsch
 English
 Français
 Español
 Português